How to Fix Your Gas Gauge
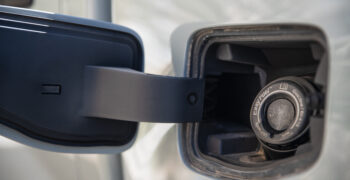
One of the most commonly-referenced gauges in a car is the fuel gauge. Even people who have never touched a wrench before in their lives and know absolutely nothing about the internal mechanics of cars are aware of what the fuel gauge does. It's important to know when you are starting to run low on gas, after all, and the fuel gauge is how you know when it's time to fill up.
However, just like anything else on a car, it's possible for your fuel gauge to break. Obviously, if you have just driven 200 miles and your fuel gauge still reads completely full, there's an issue. (This would be a pleasant issue to have were it true, but it's not.) Alternatively, if you have just driven off the gas station parking lot from a fill up and your fuel gauge reads empty, that's also a rather obvious problem. Even though figuring out that there's something wrong with the fuel gauge isn't terribly difficult, diagnosing the reason behind your fuel gauge reading incorrectly can be somewhat time-consuming. You may automatically assume that the issue is with the fuel gauge itself, but most of the time this is not the case. One thing is for certain – driving around with a non-functioning gas gauge is a challenge and one that many folks have done – resetting your trip odometer, and tracking gallons and miles gets old very fast!
How Does a Gas Gauge Work?
The best way to explain the mechanics behind a gas gauge is to visualize a toilet float valve. Inside of your toilet’s tank there is a float arm. This float arm is how your toilet knows to shut off the water valve after you have flushed and the tank has refilled. When you flush a toilet, the water rushes out of the tank into the bowl, and the float arm lowers with the dispensing water. The toilet’s water valve is open at this point and water will flow back into the tank of the toilet. When the float arm reaches a certain height, the valve shuts off and water stops flowing.
Your gas gauge works in a similar (more complex, but similar) way. There is also a float-like instrument inside your gas tank that is connected to a rheostat (or resistance-sweep…think of a volume knob on a stereo) which communicates directly to the fuel gauge. When your fuel level is full, the electrical resistance at the sender changes, sends the signal to the gauge, and this is what causes the gauge to read as full after a fill-up. Depending on the level of electrical resistance, the fuel gauge changes to reflect the level of gas in the tank. In the event that the fuel gauge constantly reads empty, full, or some random nonsensical reading, then there is an issue with the fuel gauge, the sender, or the wiring in between.
The following will walk you through where to start in diagnosing your fuel gauge issues, as problems could be in multiple places.

HOW TO TEST A FUEL GAUGE
1. DETERMINE INSTRUMENT CLUSTER SELF-TEST PROCEDURE
The easiest way to begin is to look in your owner’s manual and figure out how the instrument cluster self-test procedure is done. Depending on the age of your car and the model, the process for this varies. Once you have figured out how to activate the cluster self-test procedure, go ahead and perform it. If you have an older vehicle – pre-1990’s, the chances are this procedure cannot be done.
In newer cars this typically involves turning on and off the headlights a certain number of times and pressing the odometer button; in older ones turning on and off the ignition a few times is generally required.
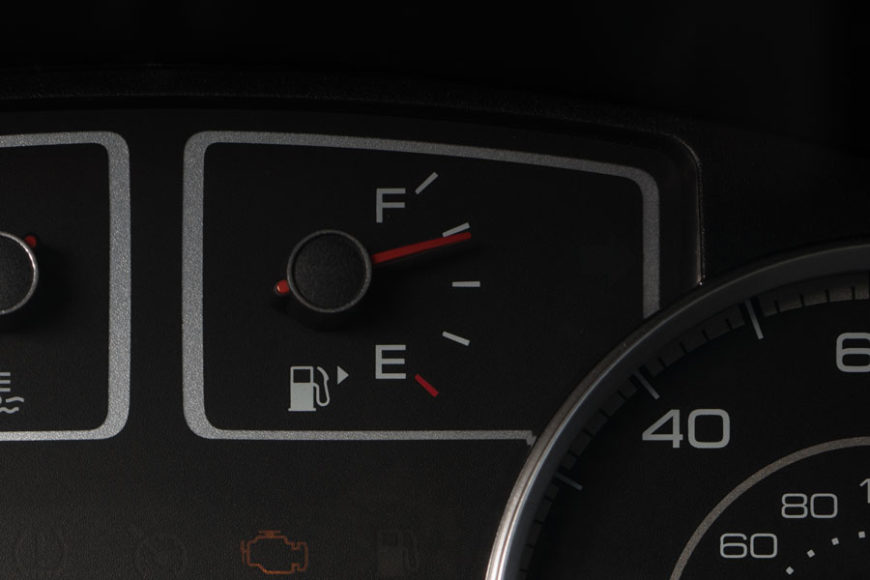
The fuel gauge needle should go through a full sweep during the cluster self-test process. If it does not, the issue is with the fuel gauge directly. However, if the fuel gauge needle does its sweep as it is supposed to, you need to perform further tests to properly diagnose the problem.
2. CHECK THE FUSES
The next step after performing the cluster test is to check the fuses. Particularly if you are experiencing an issue with more than one gauge on your vehicle, the culprit may be a fuse. If the fuse for the instrument panel has been blown, make sure to replace it. Then go ahead and turn on the car. If the fuel gauge doesn’t sort itself out automatically, run the cluster test again.
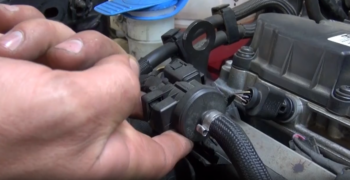
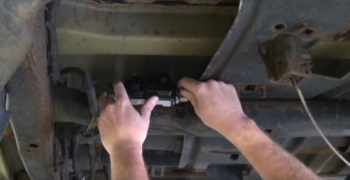
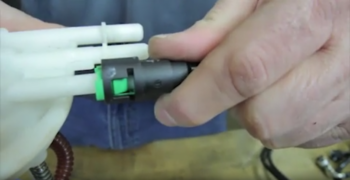
3. CHECK THE WIRING
Testing the wiring is not particularly difficult, but it can be time-consuming. The best place to start is at the gas tank itself. On most vehicles, you will have a wiring harness at the gas tank that handles power for the fuel pump and for the sending unit. Older vehicles with no electric fuel pump will usually have a single wire for the sending unit, and a ground wire attached to one of the screws of the sending unit, grounding out at the frame nearby. It’s absolutely important that you check the ground connections first. Because of rain, salt, snow, etc being splashed at the back of the vehicle, it is very common for a sending unit ground to fail, even if the wire is still in tact. Remove the ground connection, clean, and re-attach. You need to visually inspect the wiring as any break or damage to the sending unit wire, or ground will cause a problem at the gauge. In most cases, to gain access to the fuel tank sending unit mount / fuel pump mounting hole, you’ll need to drop the gas tank down. Be sure to do this when there is either minimal gas in the vehicle, or it’s been siphoned out. Most gas gauge issues can be traced to an issue with the wiring near the tank, or with the sending unit itself.
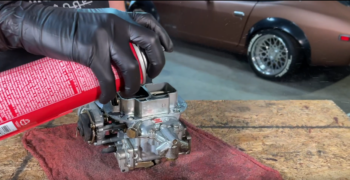
4. VISUALLY INSPECT THE SENDING UNIT / TEST
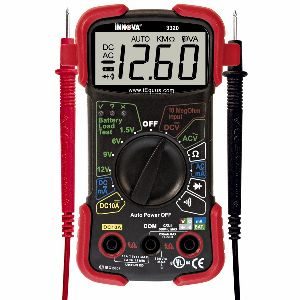
If your wiring and fuse test as passed, usually the next option is to remove the fuel sending unit / fuel pump assembly from the tank and inspect. Some times, the arm or float will be broken, or the wiring leading up and out of the sending unit will be damaged. On older vehicles with a 1-wire sending unit, resistance can be tested easily. Most older sending units are a “0-30” or “0-60” ohm sending unit, meaning that when the tank is at empty, the resistance will read 0ohms, where at full, it will read 30, or 60ohms. To test this, simply put your mutl-meter to ohms (resistance) setting, and touch off one probe to the sending terminal, and the other probe to ground. Slowly move the float up and down, and you should see the resistance change on the multi-meter. If you see no change in resistance, the sending unit is bad. On newer sending units that incorporate the fuel pump into the assembly, this is more difficult, if not impossible to perform, but often times, test procedures can be found online. If the sending unit is suspect on a newer vehicle, unfortunately, the entire fuel pump assembly must be replaced in most cases.
5. TEST THE GAUGE WITH A MULTIMETER
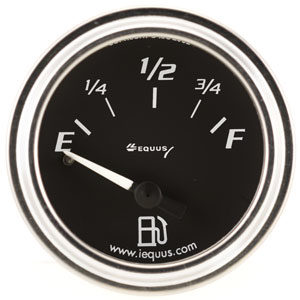
On older vehicles or boats, the fuel gauge will usually have 2 terminals. One of these terminals receives 12V of power when the ignition is turned on. The other terminal is the sending wire from the sending unit. The gauge itself is then grounded. If you do not have 12V at the power wire, the lack of power will need to be troubleshooted. You can also test continuity between the sending terminal at the dash, and where it connects back at the tank. If you have no continuity, there is a break in this wire somewhere. To check the fuel gauge itself, remove the instrument cluster from the dash and test it with the multimeter for resistance. Different gauges can be tested using different methods, so seek out the proper test procedure in a repair manual or online. On newer vehicles, the gauge cluster and fuel gauge are much more difficult, if not impossible to test. To check the fuel gauge itself on newer vehicles, remove the instrument cluster from the dash and you may have to disassemble the cluster to remove the gauge. While gauges themselves can fail, generally the problems are found in wiring or the sending unit, rather than the gauge, so it’s best to rule out all the other possibilities before tackling the gauge itself.
A Functioning Gas Gauge
Tracking down fuel gauge issues can be a pain. It’s one of those critical gauges that if it doesn’t work, can leave you stranded, or at least, constantly tracking your mileage out of fear of running out of gas. Remember to start with the basics….fuses, wiring, grounds, and work your way to the more complicated possibilities. In most cases, the problems can often be found with the basics.